

Last Updated: November 2, 2026
Quick Summary
To transport a motorcycle to a rally safely, first clean, inspect, and photograph the bike, then set fuel to about a quarter tank and check fluids, tire pressure, and the battery. Load it upright with a wheel chock and strap it down at four points with shallow angles. Recheck the straps after 20 miles and at every fuel stop.
- Clean the bike and take dated photos of all four sides before loading.
- Leave about a quarter tank of fuel and check oil, coolant, and brake fluid.
- Set tire pressure to the manufacturer’s spec and test the battery.
- Anchor straps to the frame, triple clamp, or swingarm area, never to handlebars or mirrors.
- Recheck every strap after the first 20 miles, then at each fuel stop.
Table of Contents
- Choosing Between Riding, Trailering, and Shipping Your Motorcycle to a Rally
- Motorcycle Transport Checklist: Preparing Your Bike Before Loading
- Step 1: Clean, Inspect, and Document Your Motorcycle’s Condition
- Step 2: Set Fuel, Fluids, Tire Pressure, and the Battery
- Step 3: Position the Motorcycle Upright and Use a Motorcycle Wheel Chock for Trailer Loading
- Step 4: How to Strap Down a Motorcycle in a Trailer
- Common Mistakes, Weather Contingencies, and Arrival at the Rally
- Booking Your Spot and Getting Your Bike Ready for Spirit of Indian
- Frequently Asked Questions
Choosing Between Riding, Trailering, and Shipping Your Motorcycle to a Rally
Getting your Indian to a rally is the first decision that shapes the whole trip, and deciding how to transport a motorcycle sets the pace for everything after.
Riding gives you the most miles and the most fun, but it also adds wear and fatigue before the event even starts.
Our take: if the rally is more than a day’s ride away and you have a trailer, trailering is usually the safest middle ground. The U.S. Department of Transportation motor carrier guidance covers rules that apply to hauling vehicles on public roads, so check those before you load up.
Best for: riders who want control of the bike and gear. Skip if: you have no tow vehicle and no budget for a carrier.
Motorcycle Transport Checklist: Preparing Your Bike Before Loading
Before you touch a strap to transport a motorcycle, run through this list. Most transport problems start with something skipped here.
- Clean the bike so you can spot leaks, cracks, and loose parts
- Photograph every side with dated images
- Set fuel to about a quarter tank
Keep the list on your phone. You will use it again at the rally.
Step 1: Clean, Inspect, and Document Your Motorcycle’s Condition
Start with a full wash. Dirt hides cracks, oil seeps, and loose bolts. Once the bike is clean, walk around it slowly and look for anything new: scratches, dents, leaks, or cracked mirrors.
Take dated photos of all four sides, the seat, the handlebars, and the odometer. If anything gets damaged in transit, these photos are your proof. Many shippers and trailer rental companies ask for them.
Watch out: skipping photos is the most common regret riders report after a damage claim. Snap them even if you are only trailering the bike across the state.
Step 2: Set Fuel, Fluids, Tire Pressure, and the Battery
Fuel is simple. Leave about a quarter tank.
Check fluids next. Top off oil, coolant, and brake fluid. Look for drips under the bike after you park it.
Set tire pressure to the number printed on the swingarm or in the owner’s manual. Underinflated tires can flex and shift during a long haul.
Last, test the battery. A weak battery can leave the bike dead at a rally campsite.
Step 3: Position the Motorcycle Upright and Use a Motorcycle Wheel Chock for Trailer Loading
Roll the bike onto the trailer slowly, keeping it upright. Have a helper walk beside the bike on the way up.
Once the front wheel is in the chock, the bike stays put.
Watch out: never load a bike with the kickstand down on a slope. The bike can tip, and that falls on the trailer, the bike, and you.
Step 4: How to Strap Down a Motorcycle in a Trailer
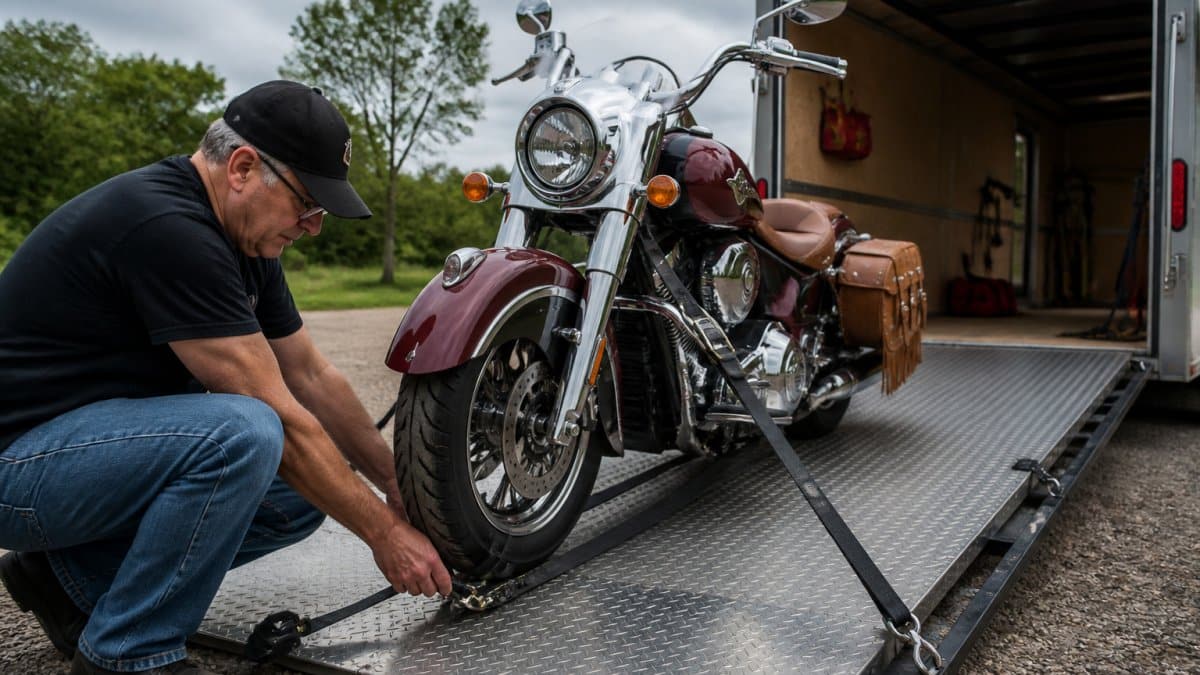
Strapping a bike correctly is the difference between a clean arrival and a repair bill. The goal is to hold the motorcycle upright and centered over its own suspension without bending or scratching anything. Work from the strongest points outward, and treat every strap as a system rather than a single connection.
Choose the right anchor points on the bike
Use the frame, the lower triple clamp, or the sturdy tie-down loops that many trailers and aftermarket kits provide. On cruisers and touring models, the frame downtubes and the area around the steering head are reliable.
Never anchor to:
- Handlebars, mirrors, or lever perches, they bend or snap under load
- Plastic fairings, saddlebags, or luggage racks not rated for tie-down force
- Brake lines, wiring, or fuel lines
- The front fender or fork sliders
If you are unsure whether a point is structural, trace it back to the frame. A strap that pulls on a cosmetic part will fail at the worst moment.
Set strap angles and compression
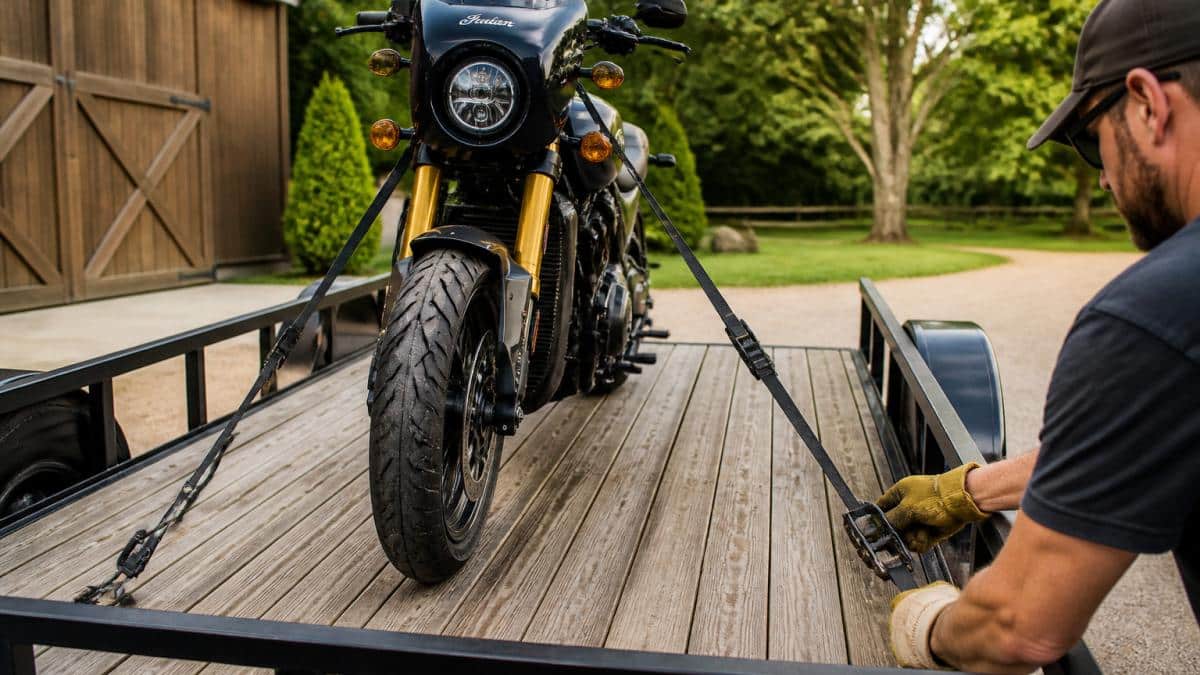
Run each strap at a shallow angle, roughly 45 degrees or less from the trailer floor, so the tension pulls the bike down and slightly outward rather than sideways.
Compress the front suspension by about one-third to one-half of its travel. You want the forks to settle, not bottom out. Over-compressing can damage fork seals and puts constant stress on the springs; under-compressing lets the bike bounce and walk the straps loose.
Use four points when possible: two forward from the frame or triple clamp, and two rearward from the frame or swingarm area. A third front strap across the steering head adds side-to-side control. Ratchet straps rated for at least the bike’s weight, and in good condition, are the baseline; inspect webbing for cuts and confirm the ratchet mechanism locks positively before you load.
Tighten, bounce, and recheck
Tighten until the suspension compresses slightly, then give the bike a firm side-to-side and front-to-back shake by hand. Movement of more than about an inch means a strap is loose or an anchor is flexing.
Never leave the kickstand down as a primary support on a trailer. The stand can fold or dig into the deck, and the bike can tip. The chock and straps should hold the bike; the stand is only a backup once the bike is fully seated and secured.
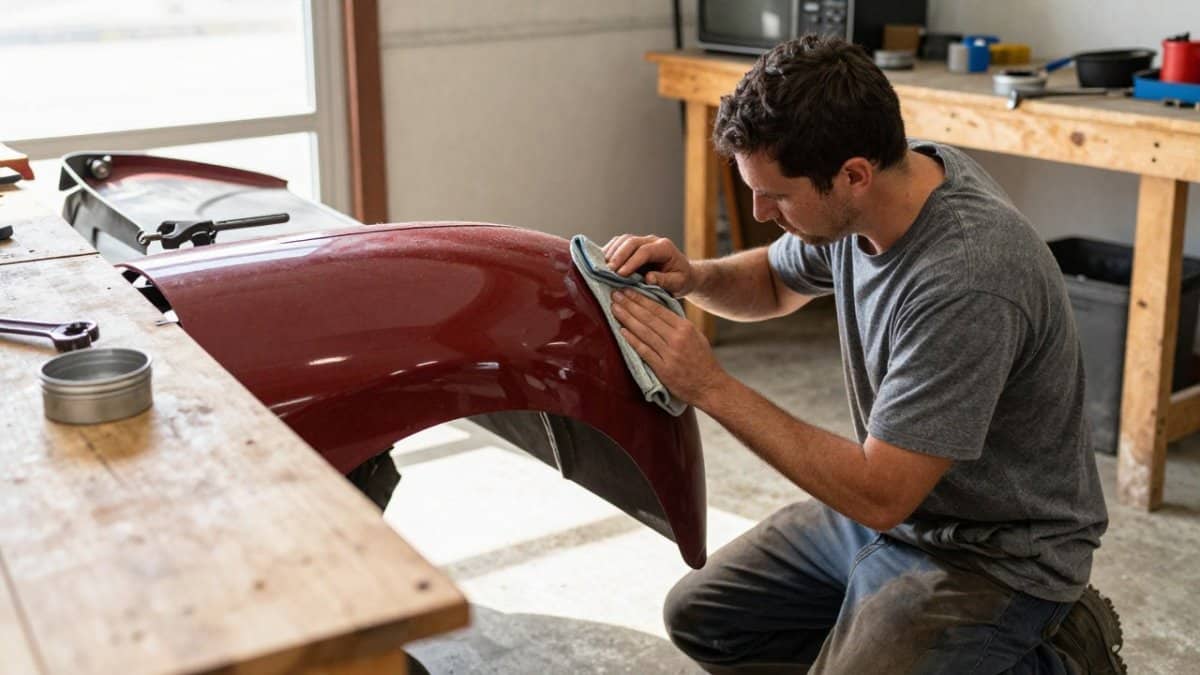
::: Properly installing trailer tie-downs provides the necessary anchor points to keep your machine upright and stable throughout the entire journey.
Match the method to the bike
A heavy touring bike needs more compression and wider strap spacing than a lightweight standard.
Finally, confirm your trailer’s rated capacity and load distribution before you load. Check your state’s trailer and towing rules, and follow the U.S. Department of Transportation motor carrier guidance where it applies to hauling on public roads.
The key strapping figures from the steps above are summarised here for quick reference.
| Item | Value | Note |
|---|---|---|
| Strap angle | About 45 degrees or less | Pulls bike down and outward |
| Front suspension compression | One-third to one-half of travel | Avoid bottoming out |
| Strap count | Four points, plus optional third front strap | Two forward, two rearward |
| Movement after shaking | More than about one inch | Means a strap is loose or anchor flexing |
| First recheck | After first 20 miles | Then at each fuel stop |
| Ratchet strap rating | At least the bike’s weight | Inspect webbing for cuts |
Common Mistakes, Weather Contingencies, and Arrival at the Rally
Most transport failures happen in the last hour, not the first. The bike survives the highway and then gets dropped on the ramp, or the straps are fine until a rainstorm loosens them at a rest stop. Treat the trip as a series of checkpoints, and treat arrival as its own procedure.
Mistakes that show up again and again
- Trusting straps you never rechecked. Check at every stop, not just the first one.
- Leaving the bike unsecured at a gas stop or motel. A disc lock and a covered, well-lit parking spot are cheap insurance.
- Loading with the kickstand down on a slope. The bike can tip before the chock seats.
- Over-compressing the forks. Fork seals and springs pay for that mistake later.
Weather and roadside contingencies
Carry a tarp and bungee cords sized to cover the bike, and check the forecast for the route, not just the destination. If rain is likely, cover the seat, the instrument cluster, and any open intake or electrical connectors.
For theft, use a disc lock and, where possible, park the trailer in a lit area or a fenced lot. Remove or secure loose gear.
Arrival and unloading at the rally
Rally sites often have designated unloading areas, one-way traffic, and time windows for setup. Check the event’s arrival instructions before you leave, and plan to arrive with daylight to spare.
Unload in reverse order: release the rear straps first, then the front, keeping a hand on the bike as the suspension extends. Use a ramp rated for the bike’s weight and have a helper walk beside it.
Build a five-minute post-transport inspection into your arrival: walk the bike, check the straps and anchors for wear, confirm tire pressure, test the battery, and look for new leaks or scratches. Compare against the dated photos you took before loading.
A rally-day arrival checklist
- Confirm the event’s unloading area and hours
- Chock the trailer wheels before releasing straps
- Release rear straps, then front, keeping the bike upright
- Park clear of the unloading lane
If you are still deciding how to get the bike there, revisit the transport-method comparison above. For event-specific planning, see book your Spirit of Indian ticket.
Booking Your Spot and Getting Your Bike Ready for Spirit of Indian
Spirit of Indian is a week-long rally at River’s Edge Campground in New Richmond, Wisconsin, for Indian Motorcycle riders and their families.
For ticket pricing, camping options, and current availability, check the Spirit of Indian website for the latest details.
Before you leave, make sure your bike is ready. Use the checklist above, and confirm your transport method and strap plan well ahead of departure.
For more on what to expect once you arrive, read how to know what to expect at motorcycle rallies. If you are still choosing your transport method, Indian Motorcycle rally events 2026: what to know walks through the event itself. For camping and planning help, see motorcycle rally camping tips 2026, and for longer-distance prep, prepare your motorcycle for long distance travel covers readiness checks in more depth.
Frequently Asked Questions
What is the safest way to transport a motorcycle to a rally?
For most riders, the safest method is a dedicated enclosed or open trailer with the bike secured upright by at least four ratchet straps, two at the front and two at the rear, anchored to the trailer’s tie-down points rather than the handlebars or fork. A professional motorcycle transport service is a strong alternative if you lack a suitable trailer or tow vehicle. Whichever method you choose, prepare the bike, document its condition with dated photos, and recheck the straps after the first 10 to 20 miles of travel.
Should you drain the gas before transporting a motorcycle?
Most owners transport the bike with the fuel at about a quarter tank. This keeps the weight down, reduces fuel vapor and spill risk, and leaves enough fuel to start and move the bike at the destination. If you are shipping the bike through a carrier, check their fuel policy first, since some require the tank to be at or below a set level. Turn the fuel valve off or to the reserve position for travel, and check for leaks before you leave.
How many tie-down straps do you need to transport a motorcycle?
Four ratchet straps is the common baseline: two anchored to the front of the bike, typically on the fork or triple clamps, and two to the rear, anchored to the frame or rear hard points. Avoid straps that compress the suspension excessively or run over plastic fairings and wiring. Use a wheel chock for the front tire in a trailer, and check each strap for tension and slack at every stop.
Is it better to ride or trailer a motorcycle to a rally?
Riding is the best choice if the distance is manageable and you want the full journey on two wheels. Trailering suits longer distances, riders with limited time or those bringing a custom or vintage bike that would be hard to ride far. Shipping works well when you have no tow vehicle or want to avoid wear on your bike. Weigh the cost of fuel, lodging, and time against each option, and consider a backup plan for weather or mechanical trouble on the road.

0 Comments