
Last Updated: October 28, 2026
Quick Summary
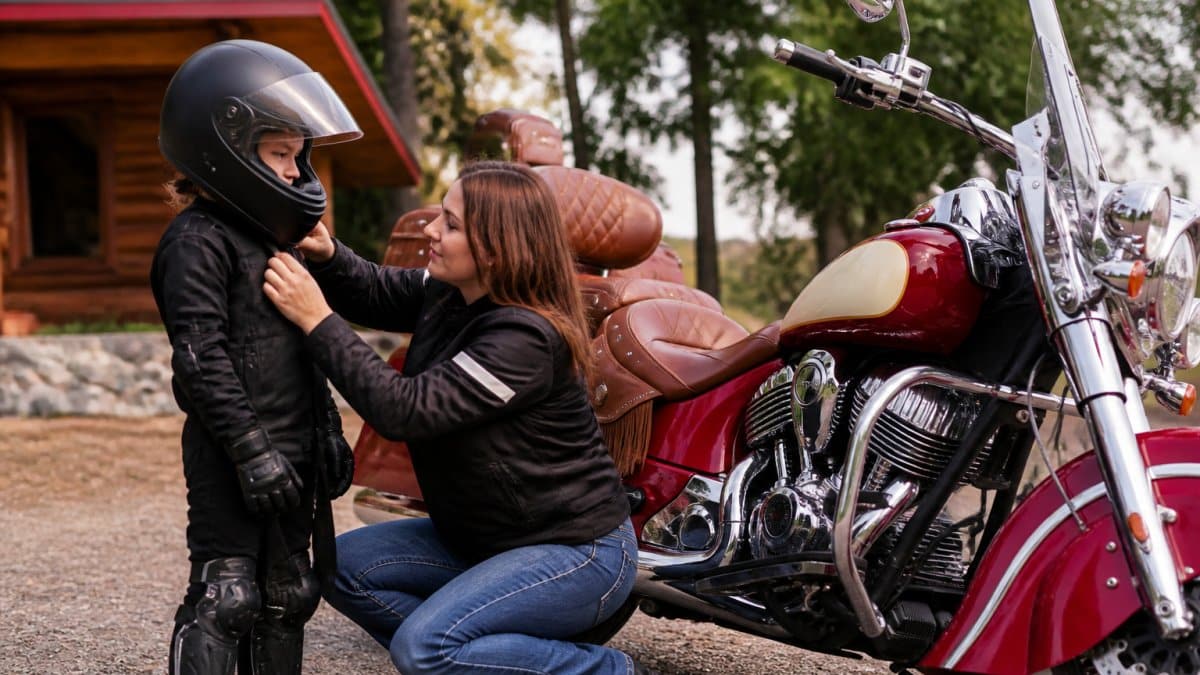
Start with the helmet: measure the head, check that it is DOT-marked, and confirm it stays put when your child shakes their head with the chin strap fastened. Then check that motorcycle safety gear like jackets, gloves and boots fits snugly with no slipping or gaps.
- Measure the head about one inch above the eyebrows and ears with a soft tape.
- Look for the DOT symbol and confirm the helmet meets FMVSS 218.
- A helmet that rocks or slides when the head is shaken is too big.
- Have your child make a fist and open the hand to check glove fit.
- Re-check gear fit at the start of every season after growth spurts.
Table of Contents
- Start With the Helmet: Kids Motorcycle Helmet Sizing and Certification
- Full-Face Protection, Goggles and Eye Protection for Young Riders
- Choosing Children’s Motorcycle Protective Gear: Jackets, Pants and Chest Protection
- Gloves, Boots and Ankle Protection: Fit Checks for Every Item
- Motorcycle Gear for Child Passengers: What Changes
- Matching Gear to Riding Environment, Growth and Replacement Schedule
- Booking Your Family’s Next Step: Gear Checklist Before You Ride
- Frequently Asked Questions
Start With the Helmet: Kids Motorcycle Helmet Sizing and Certification
Choosing motorcycle safety gear for children starts with the helmet, and it is the one item you should never skip or guess on. A helmet that is too big can shift during a crash, and one that is too loose can come off entirely. At Spirit of Indian, we believe a good fit matters more than any other feature on the list.
Most parents shop by size on the tag and hope for the best. That is a mistake. Head shape varies, and a helmet that fits one child can feel wrong on another of the same age. Measure the head, then try the helmet on before you buy.
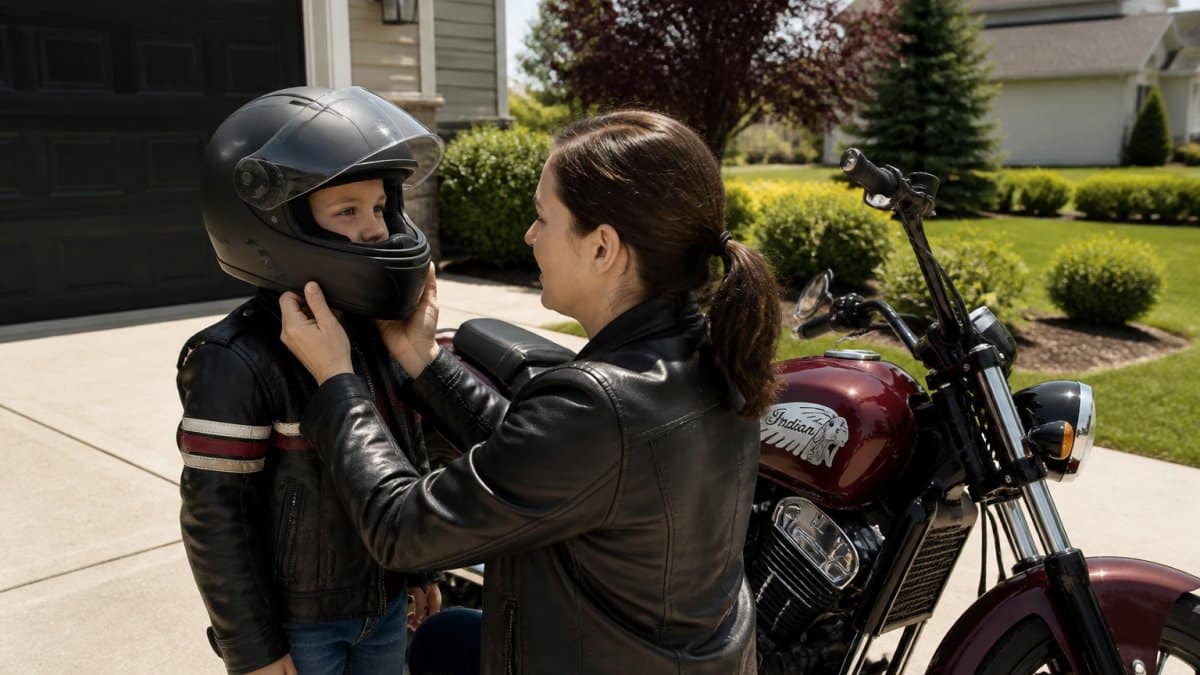
Securing the head is only the first step in building a protective ensemble, as children also require properly fitted motorcycle riding gloves to maintain dexterity and comfort while operating the controls.
Step-by-Step Helmet Fit Check
Run through these steps every time you fit a helmet:
- Measure the head. Wrap a soft tape around the head about one inch above the eyebrows and ears.
- Put it on with the chin strap fastened. Do not skip the strap, since it is what keeps the helmet in place.
- Check for pressure points. The helmet should feel snug all the way around, with no hot spots.
- Shake the head. The helmet should stay put. If it rolls or slides, the size is too big.
- Check the cheek pads. They should press lightly against the cheeks without pinching.
- Look at the eyes. The helmet should sit low enough that the child can see the rim above the brow.
Watch out: a helmet that feels “room to grow” is a helmet that will not protect your child today. Buy for the head your child has now.
Verifying DOT Certification and Safety Claims
Look for the DOT symbol on the helmet. The U.S. Department of Transportation sets the Federal Motor Vehicle Safety Standard 218 (FMVSS 218) for motorcycle helmets, and the National Highway Traffic Safety Administration publishes current guidance on it (National Motorcycle Safety Resource Guide, NHTSA 2026). A DOT sticker by itself is not proof of a good product, so check the label, the manufacturer’s information and the retailer’s return policy too.
Be skeptical of marketing words like “premium” or “pro-grade” that do not point to a standard. Ask which standard the helmet meets and read the label yourself.
Full-Face Protection, Goggles and Eye Protection for Young Riders
A full-face helmet covers the chin, jaw and face. Pick one that meets the same DOT standard and fits using the steps above.
Eye protection matters just as much. Wind, dirt and debris can hit the eyes at speed. Check that the goggles seal snugly around the face and do not press on the nose.
Common mistake: parents buy goggles that look good but leave gaps at the sides. Test them by having your child look down and to each side while wearing them.
Choosing Children’s Motorcycle Protective Gear: Jackets, Pants and Chest Protection
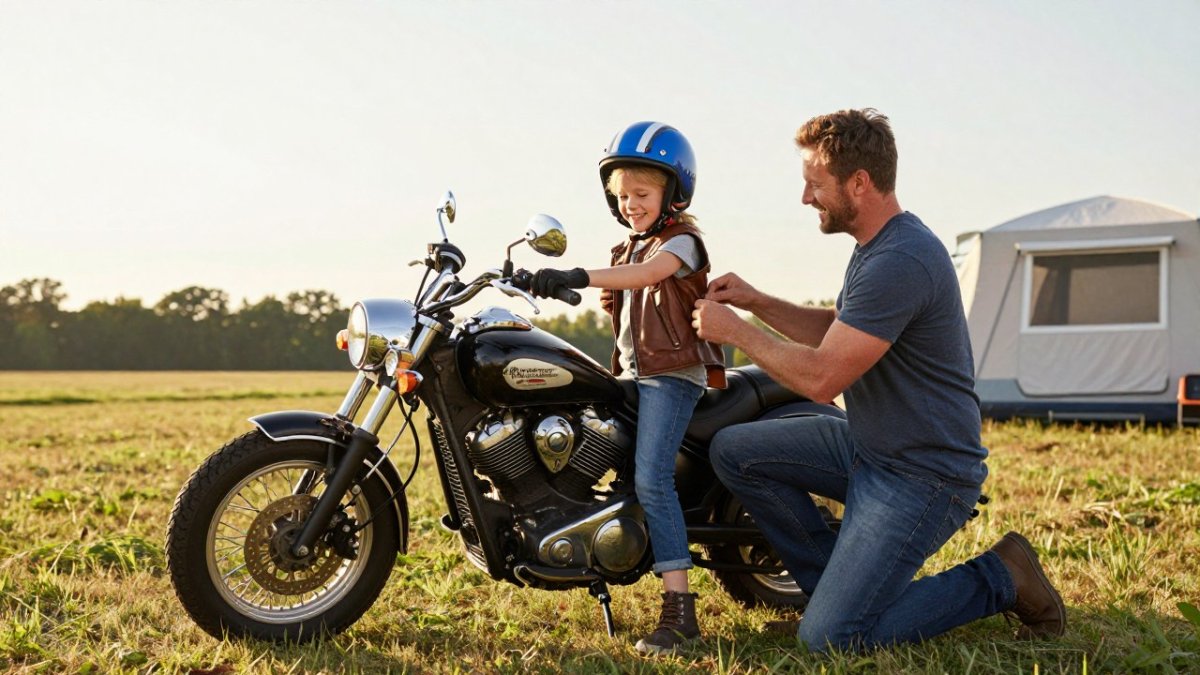
A protective jacket should fit snugly enough that the armor does not rotate away from the elbow or shoulder when your child falls.
What to Look For in a Child’s Riding Jacket
- Abrasion-resistant outer shell. Leather is the traditional choice, but heavy textile shells (often labeled 600D or higher denier) are common for youth gear and easier to clean. Avoid thin fashion jackets, cotton hoodies, and anything described only as “water-resistant” without a denier or material callout.
- Reinforced stitching at the elbows, shoulders, and back. Look at the seams, not just the panels. Double stitching and bar-tacks at high-stress points are a sign the jacket was built for a fall, not a photo shoot.
- Armor pockets that hold the pad in place. Elbow and shoulder armor should sit over the joint, not float above or below it. Press on the pad through the shell, if it slides more than about an inch when your child bends the arm, the pocket is too loose.
- A back protector pocket. Many youth jackets include a foam back pad. If the pocket is there, check that a CE-rated insert fits; if it is not, consider a separate back protector vest.
Pants and Hip/Knee Protection
Fit check for pants: have your child squat, kneel, and swing a leg over the bike. The knee armor should stay centered on the kneecap, and the waist should not gap at the back when seated. Pants that are too long will bunch at the boot and ride up in a slide.
Chest and Back Protection
For street and passenger riding, a back protector insert or vest is often the higher-value add-on, since spinal impact is a common injury mechanism in road crashes.
Visibility and Fit Over Time
Finally, re-check jacket and pant fit at the start of every season, armor that sat correctly in spring can sit too high or too low by fall after a growth spurt.
Gloves, Boots and Ankle Protection: Fit Checks for Every Item
To check the fit, have your child make a fist and open the hand. Fingers should reach the tips without bunching, and the cuff should cover the jacket sleeve.
A quick fit check: have your child stand, then rise onto the toes. The heel should stay in place and the toes should not hit the front.
Make the fit check part of every purchase. A glove that fit last season may be too small now.
Motorcycle Gear for Child Passengers: What Changes
Passenger gear should also be comfortable for longer rides. A child who gets too hot or cramped will want to stop riding. Bring water, plan breaks, and bring a spare layer for cooler weather. Remember that passengers have less control than riders, so a snug, secure fit matters even more.
Matching Gear to Riding Environment, Growth and Replacement Schedule
Most gear guides stop at the shopping list. The harder question is which gear your child actually needs for the riding you do, and when to replace it. Use this section as a decision guide rather than a checklist.
Gear by Riding Environment
| Riding scenario | Priority gear | Why it matters |
|---|---|---|
| Street or road riding (child as passenger) | Full-face DOT helmet, abrasion-resistant jacket and pants with armor, gloves, over-the-ankle boots, high-visibility layer | Road crashes involve higher speeds and harder surfaces; abrasion resistance and armor placement matter most |
| Dirt, trail, or motocross riding | Full-face off-road helmet with goggles, chest protector, knee guards, gloves, motocross boots, jersey and riding pants | Roost, handlebar strikes, and low-speed tip-overs are common; chest and knee protection carry more weight |
| Neighborhood or driveway practice | Full-face helmet, gloves, boots, long pants and jacket at minimum | Low-speed falls still cause hand, ankle, and head injuries; do not treat short rides as low-risk |
| Group or organized youth rides | Whatever the organizer requires, plus a personal back protector | Group riding adds collision risk from other riders; organizers often set minimum standards |
Growth: When Gear No Longer Fits
- Helmet: The helmet rocks when your child shakes their head, the chin strap cannot be snugged without over-tightening, or the shell sits above the brow line.
- Jacket and pants: Armor no longer covers the elbow, shoulder, or knee when the child is in a riding position, or the sleeves and cuffs ride up past the wrist and ankle.
- Gloves: Fingers bunch at the tips, or the cuff no longer overlaps the jacket sleeve.
- Boots: The heel lifts when your child rises onto the toes, or the toe box presses against the shifter.
Inspection and Replacement After a Crash or Impact
- Jacket and pants: Check seams, armor pockets, and abrasion areas. If the outer shell is worn through or the armor has shifted, replace the item.
- Gloves: Look for worn palm material, split seams, or knuckle armor that has cracked.
- Boots: Check the sole, ankle support, and buckle or strap integrity. A boot that flexes too easily at the ankle after a fall has lost its protective value.
A Simple Pre-Ride Question
Before every ride, ask three questions: does the gear fit today, is it undamaged, and does it match where we are riding? If any answer is no, fix it before your child gets on the bike.
Booking Your Family’s Next Step: Gear Checklist Before You Ride
- Helmet is DOT-marked and fits using the step-by-step check
- Goggles or face shield seal snugly without pressure points
- Jacket and pants cover arms and legs with reinforced stitching
- Chest protection and armor stay in place when your child moves
- Gloves fit the fingers and cover the jacket sleeve
- Boots support the ankle and do not slip at the heel
- All gear has been checked for fit this season
For more on planning a family motorcycle trip, read how to keep kids comfortable on motorcycles. If you are looking for a family-friendly place to ride and stay, you can also check out Spirit of Indian for current details.
Frequently Asked Questions
What motorcycle safety gear does a child need?
A child riding a motorcycle or dirt bike needs a helmet that meets DOT FMVSS 218, eye protection, gloves, a jacket with reinforced elbows and shoulders, long pants, and over-the-ankle boots. Each item should fit snugly and allow full range of motion. Helmets are the single most important purchase, so start there and then build out the rest of the kit. Look for DOT markings on every helmet and check that the child can move freely in all protective pieces before every ride.
How do you choose the right motorcycle helmet for a child?
Measure the head circumference about one inch above the eyebrows, then use the manufacturer’s youth size chart. A proper motorcycle helmet should sit snug all around with no pressure points, and the cheek pads should press lightly on the face. Check that the helmet does not move when the child shakes their head. Confirm the DOT sticker is present and the helmet is designed for motorcycle use, not a bicycle or skate helmet. Try the helmet on with the child’s typical riding gloves to ensure the fit feels right.
Can children wear adult motorcycle helmets?
Adult helmets are generally not recommended for children because the shell, liner and padding are sized for a larger head, so they can shift during a crash and fail to protect properly. Youth helmets are designed with smaller shells and liners sized for a child’s head. If a helmet is too large, it can rotate or come off in an impact. Always choose a helmet sized for the child and confirm it carries DOT certification.
How often should a child’s motorcycle helmet be replaced?
Replace the helmet after any significant impact, even if no damage is visible, because the protective liner can compress and lose effectiveness. Also replace it when the child outgrows it, since a loose helmet provides poor protection. Many manufacturers recommend replacement every few years regardless of use, and you should check the manufacturer’s guidance. Inspect the shell, straps and liner regularly for cracks, fraying or odor, and replace any helmet showing wear.
Spirit of Indian welcomes families who ride together, and we encourage you to plan your next trip with safety in mind. Check current pricing and details on our website before you book.

0 Comments