
Table of Contents
- Step 1: Define Your Rally Trip Goals and Riding Style
- Step 2: Choose Your Route and Identify Scenic Roads
- Step 3: Estimate Daily Mileage, Riding Time, and Rest Breaks
- Step 4: Prepare Your Motorcycle with a Pre-Ride Inspection
- Step 5: Build Your Motorcycle Road Trip Checklist
- Step 6: Pack Your Gear and Luggage for Rally Comfort
- Step 7: Book Accommodation and Plan Rally Logistics
- Create a Realistic Rally Trip Budget
- Frequently Asked Questions
Last Updated: October 11, 2026
Step 1: Define Your Rally Trip Goals and Riding Style
Planning a motorcycle rally trip starts with clarity about what you want from the experience. Are you chasing miles, scenic views, camaraderie, or a mix of all three? Your answer shapes everything that follows.
Most riders fall into one of three camps. Some want pure distance and speed, they’re testing themselves against the road. Others prioritize scenic riding and photo stops. Still others come for the community and the events themselves. Honest self-assessment here saves regret later.
Your riding style matters just as much. Are you comfortable with 200-mile days, or does 100 miles feel like a full day? Do you prefer highway cruising or twisty mountain roads? Are you a solo rider or do you thrive in a group? These details determine which rallies fit and how you’ll structure your time on the road.
Define your non-negotiables before booking anything. If you hate camping but love cabins, that changes your rally choice entirely. If you’re not interested in custom bike competitions, you don’t need to budget extra time for that scene.
Spirit of Indian riders often mention that the event’s guided rides through scenic Wisconsin and Minnesota roads give them the best of both worlds, community and stunning landscapes. Knowing whether you want that kind of structure or prefer riding solo helps you choose the right rally experience.
Step 2: Choose Your Route and Identify Scenic Roads
Once you know your goals, choose a rally that matches them. Research the location, dates, and vibe. Check what events and activities are scheduled. Read reports from riders who’ve attended before.
Next, map your route to the rally. Don’t just plot the shortest distance. Look for scenic byways and roads that align with your riding style. Winding mountain roads offer different rewards than flat prairie highways.
Use mapping tools to identify specific scenic stretches. Note elevation changes, road surfaces, and weather patterns for your travel dates. A route that looks great on paper might have washboard gravel sections or seasonal closures you need to know about.
Using Digital Tools for Route Optimization
Digital planning tools make route building faster and smarter. Platforms like Roadtrippers and Calimoto let you plot motorcycle-specific routes with real-time traffic and road condition data. These tools highlight curves, elevation, and points of interest along your path.
Offline maps are critical for rally trips. Download maps to your phone before you leave. Cellular coverage drops in rural areas, and you don’t want to be stranded without navigation. Many riders use dedicated GPS units designed for motorcycles, which offer better weather resistance than phones.
Build flexibility into your route. Mark 2-3 alternate roads for each day. If weather turns bad or you discover a detour worth taking, you’re not locked into a single path.
Step 3: Estimate Daily Mileage, Riding Time, and Rest Breaks
Calculate realistic daily mileage based on your experience and comfort level. Most riders average 150-250 miles per day on rally trips, but that varies widely. A rider comfortable with 8-hour days can cover more ground than one who prefers 4-5 hour days.
Factor in rest breaks. Riding fatigues you faster than you expect. Stop every 90 minutes or so to stretch, hydrate, and rest your hands and back. A 200-mile day with three 20-minute breaks takes 6-7 hours of actual riding plus travel time to fuel and food stops.
Weather and road conditions change your pace. Mountain roads or heavy traffic cut your mileage in half compared to open highways. Rain slows you further. Build buffer days into your schedule. Nearly 40% of rally attendees tow their motorcycles, according to Harley-Davidson Insurance, and many do so specifically to preserve energy for the rally itself rather than spending it all on the road.
Plan for 150 miles per day if you’re new to long-distance riding. Experienced riders can handle 250+ miles, but even they benefit from rest days to explore rally activities.
Step 4: Prepare Your Motorcycle with a Pre-Ride Inspection
Before leaving, perform a thorough pre-ride inspection. This is non-negotiable for long-distance riding.
Check tire condition and pressure. Look for uneven wear, cracks, or embedded objects. Tires are your only contact with the road. Underinflated tires overheat and fail.
Inspect brakes. Squeeze the lever and pedal. They should feel firm, not spongy. Check brake fluid level and condition. Look at brake pads for wear.
Test your battery. A weak battery strands you far from help. Have it load-tested at a shop if you’re unsure.
Top off all fluids. Oil, coolant, and brake fluid should be at proper levels. Leaks that seem minor at home become major problems 500 miles away.
Check your chain. It should have proper tension and lubrication. A dry or loose chain can fail suddenly.
Verify that all fasteners are tight. Vibration loosens bolts over time. Check critical areas like engine mounting bolts, exhaust fasteners, and wheel axles.
Step 5: Build Your Motorcycle Road Trip Checklist
Create a detailed motorcycle road trip checklist before you leave. This becomes your mental safety net on the road.
Your checklist should include:
- Tire pressure and tread depth check
- Oil and coolant levels
- Brake fluid condition and level
- Battery test
- All lights functioning
- Chain tension and lubrication
- Fasteners tight throughout
- Fuel system clean
- Mirrors and controls responsive
- Horn working
Print this checklist and use it every morning before riding. It takes 15 minutes and catches problems before they become breakdowns.
Emergency Supplies and Breakdown Preparedness
Breakdowns happen. Being prepared means the difference between a minor inconvenience and a disaster.
Carry a basic tool kit:
- Socket set (metric and standard)
- Wrenches and adjustable wrench
- Screwdrivers (Phillips and flathead)
- Pliers and needle-nose pliers
- Hammer
- Tire repair kit and plugs
- Spare fuses (correct amperage for your bike)
- Spare spark plugs
- Jumper cables or portable battery pack
- Duct tape and electrical tape
- Spare oil and coolant
Add these emergency items:
- First aid kit
- Flashlight with extra batteries
- Multi-tool
- Tire pressure gauge
- Spare chain link and chain tool (if applicable)
- Spare brake pads
- Spare belts (if your bike uses them)
Carry roadside assistance contact information. Many insurance providers offer motorcycle-specific coverage. Know your policy limits and how to call for help.
A breakdown 200 miles from the rally with no spare parts and no phone signal is preventable. Carry tools and know basic repairs. Practice changing a tire at home before you need to do it on the road.
Step 6: Pack Your Gear and Luggage for Rally Comfort
Protective gear is non-negotiable. A crash at highway speed without proper gear means serious injury or worse.
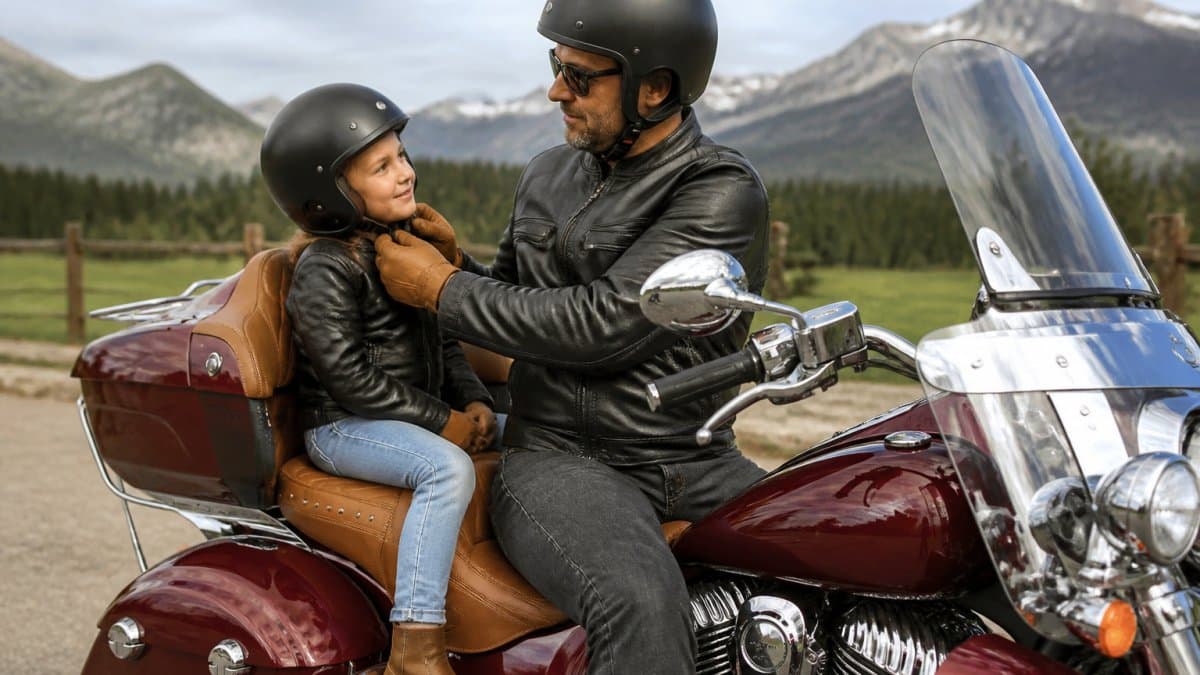
Wear a quality helmet every time you ride. Full-face helmets offer the most protection.
A riding jacket protects your upper body. Leather is durable and abrasion-resistant.
Riding pants protect your legs. Denim offers minimal protection. Proper motorcycle pants include armor at the hips and knees.
Gloves protect your hands and wrists. In a crash, your instinct is to catch yourself with your hands.
Boots support your ankles and protect your feet. Regular shoes offer no protection.
Layer your gear for changing weather. You’ll ride through rain, cold mornings, and hot afternoons on a long trip.
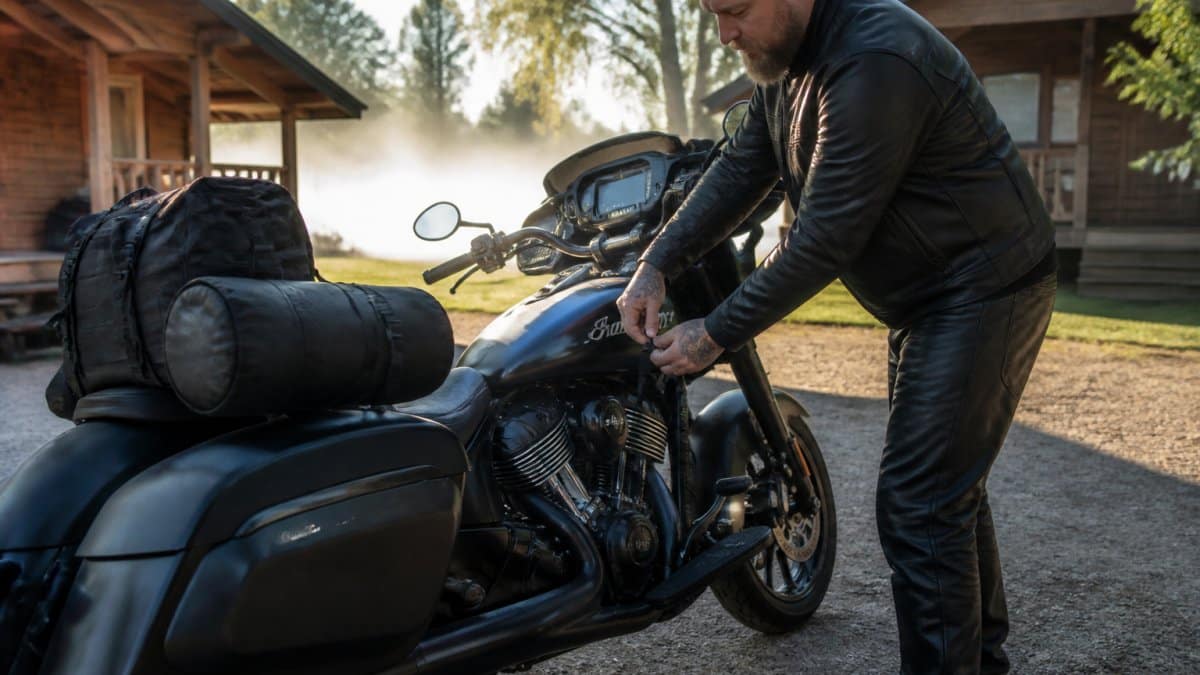
Pack luggage strategically. Saddlebags distribute weight evenly on both sides. A top box adds storage but affects handling. Don’t overload.
Secure everything. Loose gear bounces around, shifts your center of gravity, and can fall off. Use bungee cords and cargo nets.
Step 7: Book Accommodation and Plan Rally Logistics
Rally logistics matter more than most riders expect. Accommodation fills fast, especially at popular events. Book early.
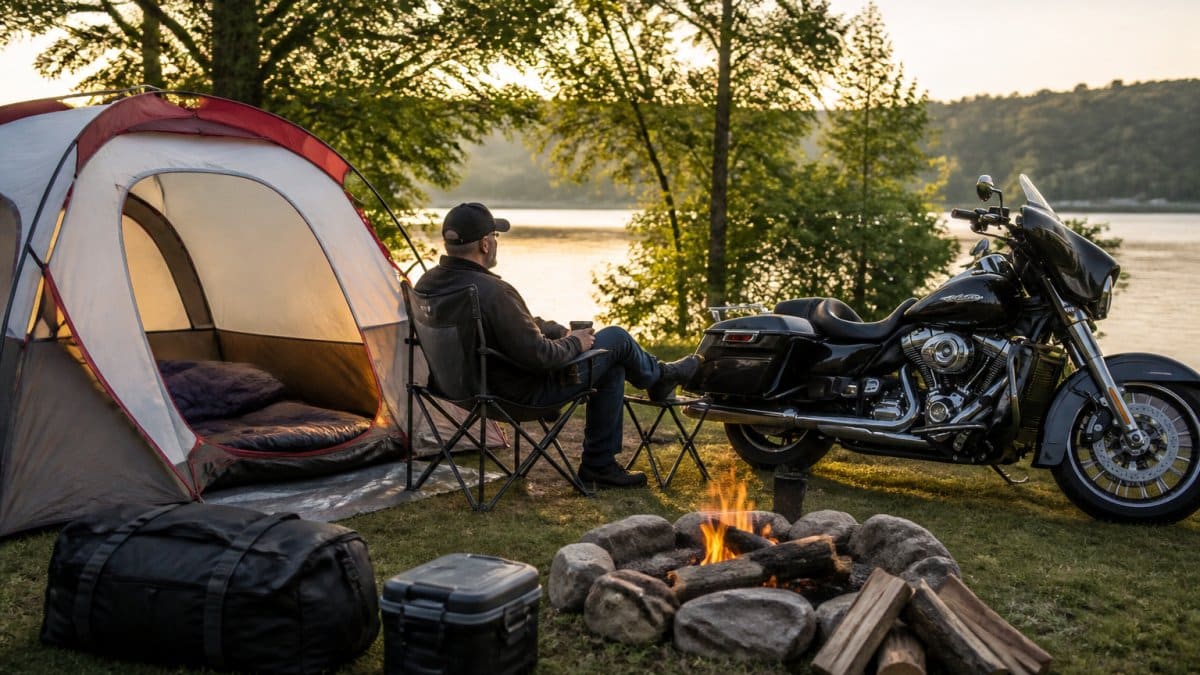
Research lodging options near the rally. Others want the rally experience of camping or staying at event grounds. Spirit of Indian offers on-site lodging including cabins and tiny homes at River’s Edge Campground, which appeals to riders wanting to stay close to the action and guided rides.
Confirm registration deadlines and fees. Most rallies charge entry fees. Some require pre-registration. Know what’s included: parking, events, entertainment, meals.
Check the event schedule. What rides are offered? When? How long? Are they beginner-friendly or advanced? Do you need to sign up in advance?
Identify fuel stops along your route. Plan to refuel before your tank hits half-empty.
Research food options. Some rallies have on-site dining. Others require you to venture into town. Know where to eat before you’re hungry and tired.
Check weather forecasts as your trip approaches. Prepare for the conditions you’ll face. Rain gear is essential. Cold-weather layers matter in early spring or late fall rallies.
Notify someone at home of your route and expected arrival times. Leave a copy of your itinerary with a trusted contact.
Create a Realistic Rally Trip Budget
Budget planning prevents financial stress during your trip. Here’s what to account for.
Fuel costs vary by distance and fuel economy. Most motorcycles get 40-50 miles per gallon.
Accommodation depends on your choice. Camping is cheapest, often $20-50 per night. Cabins and RV sites run $50-150 per night. Hotels cost $100-200+ per night.
Rally entry fees typically range from $25-100 for the event itself. Some rallies charge daily passes, others charge for the full event.
Food and beverages add up fast. Budget $30-50 per day for meals. Rally events often have special dining experiences that cost extra.
Maintenance and repairs are unpredictable but real. Set aside $200-500 as a contingency. Most trips go smoothly, but breakdowns happen.
Miscellaneous costs include parking, tolls, entertainment, and souvenirs. Budget another $100-200 for these.
A realistic week-long rally trip budget for one rider:
- Fuel: $150
- Lodging: $500
- Rally entry: $75
- Food: $250
- Maintenance contingency: $300
- Miscellaneous: $150
- Total: approximately $1,425
This assumes mid-range lodging and moderate spending. Camping and cooking your own meals cuts this significantly. Luxury hotels and daily fine dining increases it.
| Budget Category | Low | Mid-Range | High |
|---|---|---|---|
| Fuel (1,000 miles) | $100 | $130 | $160 |
| Lodging (7 nights) | $140 | $500 | $1,200 |
| Rally Entry | $25 | $75 | $150 |
| Food | $150 | $250 | $400 |
| Maintenance Reserve | $200 | $300 | $500 |
| Miscellaneous | $50 | $150 | $250 |
| Total | $665 | $1,405 | $2,660 |
Planning a motorcycle rally trip rewards careful preparation. The research from Marjon University’s study on event planning and sport tourism shows that riders who plan thoroughly report significantly higher satisfaction with their rally experience.
Frequently Asked Questions
What do I need to prepare my motorcycle before a long rally trip?
Start with a complete pre-ride inspection: check tire condition and pressure, verify oil level and quality, test all brakes, inspect the battery, and examine lights and fluid levels. Address any worn components before you leave. For a rally trip lasting several days or covering 1,000+ miles, also check your chain tension, coolant level, and fuel system. Consider scheduling a service appointment 2-3 weeks before departure to catch potential issues early. A well-maintained bike reduces breakdown risk and keeps you safe on the road.
What tools and emergency supplies should I pack for a motorcycle rally trip?
Pack a basic tool kit including a multi-tool, tire repair patches, a portable air pump, jumper cables, spare fuses, and a flashlight. Include emergency supplies like a first-aid kit, spare chain links, brake fluid, motor oil, and coolant. Carry a phone charger and portable power bank for navigation. A tow strap or recovery gear is invaluable if you need roadside assistance. Store everything in waterproof bags attached to your bike. These items weigh little but can prevent a minor issue from becoming a major problem during your trip.
How do I use motorcycle trip route planning tools to map a rally itinerary?
Digital platforms like Roadtrippers and Calimoto let you plot multi-day routes, identify scenic roads, and mark fuel stops and rest breaks. Start by entering your destination and preferred daily mileage, then adjust your route based on road conditions and weather forecasts. These tools integrate points of interest, local stops, and rider-submitted ride reports, helping you discover scenic roads and avoid congested highways. Export your itinerary offline for areas with spotty cell coverage. Building your route this way ensures you hit key rally events while maintaining a sustainable daily riding pace.
What’s a realistic budget for a multi-day motorcycle rally trip?
Budget depends on trip length, accommodation, and fuel costs. For a week-long rally trip, estimate fuel at 40-50 miles per gallon depending on your bike and riding style. Factor in accommodation (camping or cabin lodging), meals, fuel, and event registration or entry fees. Unexpected repairs, tolls, and local activities add 10-15% to your total. Create an itemized breakdown before you leave so you know what to expect. Many riders find that planning for 10-15% more than your initial estimate protects you against surprises and lets you enjoy the trip without financial stress.

0 Comments